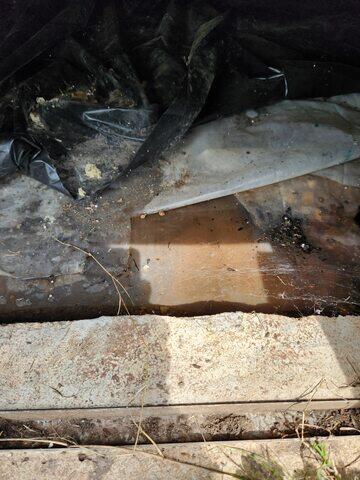
Standing Water at The Entrance of Crawl Space
Due to an old door, this crawl space was sinking in water.
Water Standing on Old Liner
Standing water not only causes mold and mildew but also erodes the floor, wood beams, and walls.
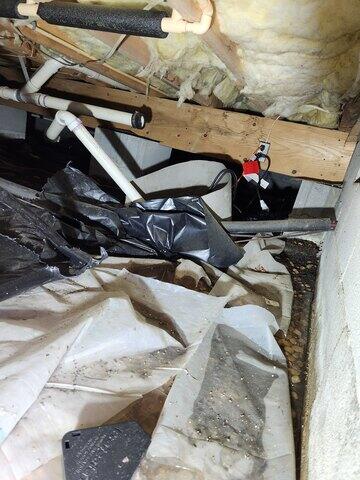
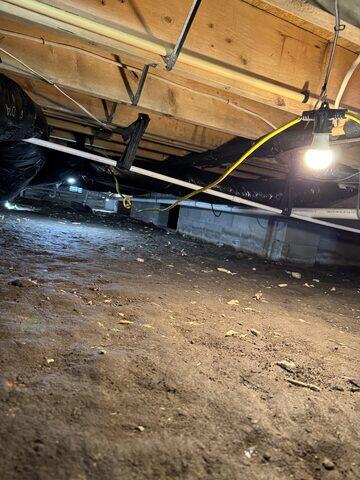
Debris Removal
Removing debris before installing CleanSpace Technology allows for a clean and smooth placement.
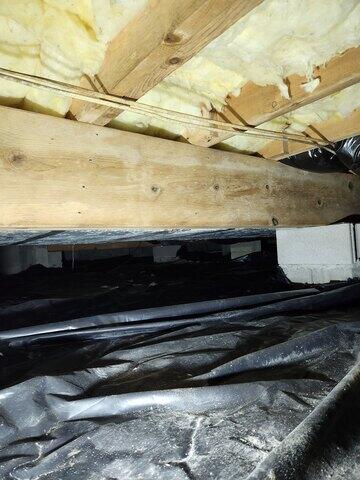
Falling Insulation
All insulation was removed and replaced with Foamax wall insulation and rim joist insulation.
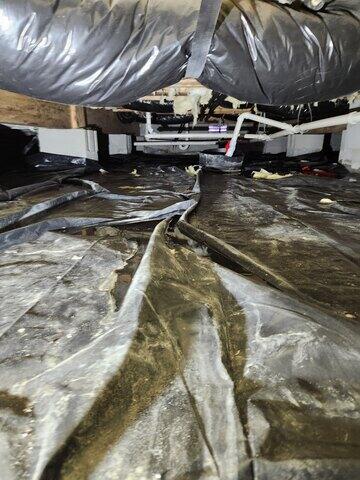
Cleaned Out Crawl Space
Once all debris and insulation are removed, the DryZone crew can begin installing CleanSpace Technology.
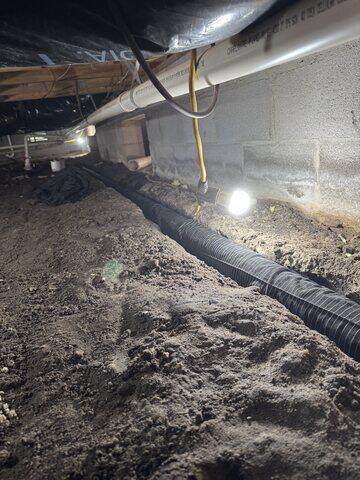
HydroLink Drainage System
HydroLink Drainage system is installed around the entire perimeter of the crawl space for maximum draining of water.
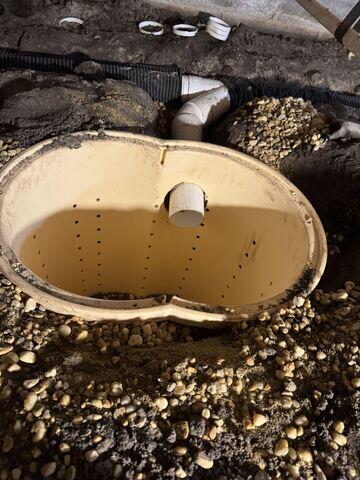
SuperSump Pump
SuperSump Pumps are placed in the ground for maximum results of keeping water out of the crawl space.
Covered HydroLink Drainage System
Once the HydroLink Draiange system is attached to the sump pump, it is then covered to ensure it is not exposed.
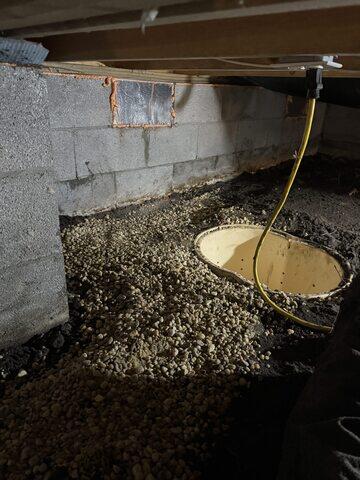
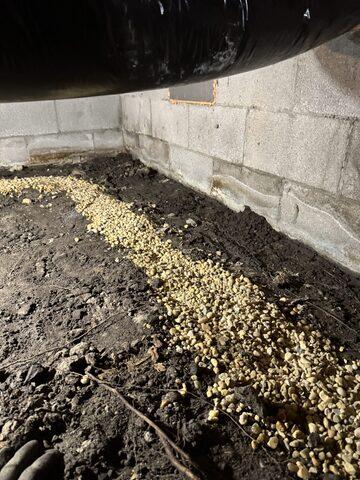
Pea Gravel
Pea gravel is used to fill in any gaps around the sump pump and tightly secure it in place.
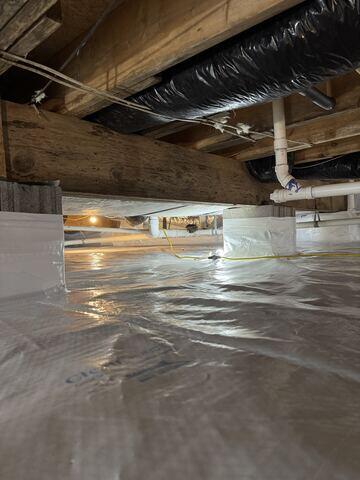
CleanSpace Technology
CleanSpace Technology is kept in place with CleanSpace tape which bonds the liner together.
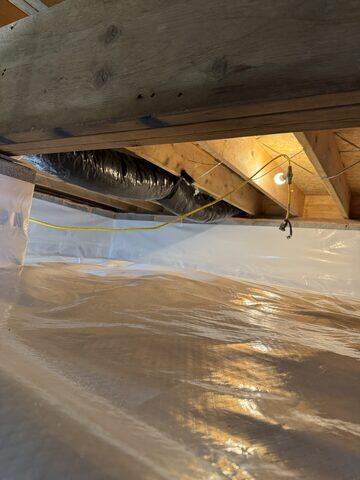
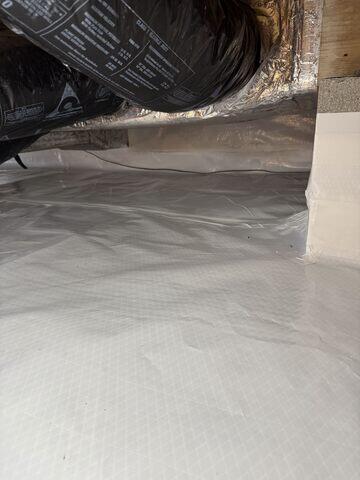
CleanSpace Technology Liner
CleanSpace Technology is installed in the entire crawl space including on the walls.
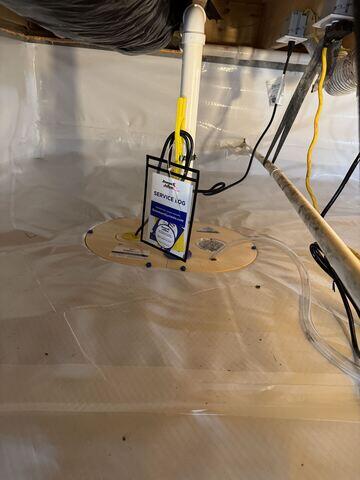
SuperSump Pump
Once the sump pump is in place, CleanSpace Technology is neatly secured around the top plate.
Wrapped Piers
CleanSpace Technology is wrapped on the piers in a crawl space for maximum protection.
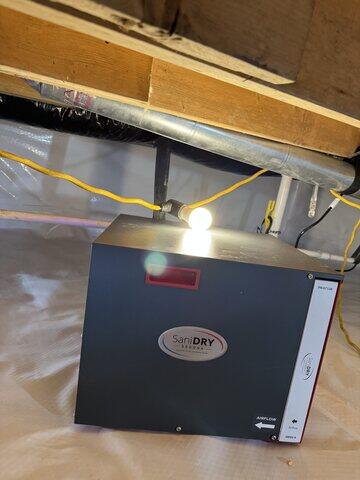
SaniDry Sedona
A SaniDry Sedona dehumidifier will ensure humidity levels are maintained at recommended values (55-59%).
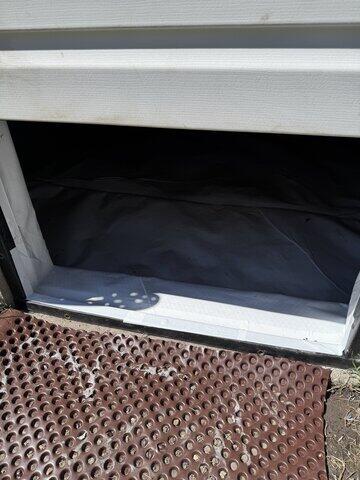
CleanSpace Technology Lining the Entrance
CleanSpace Technology is also used to line the inside of the entrance for ultimate protection from outside elements.