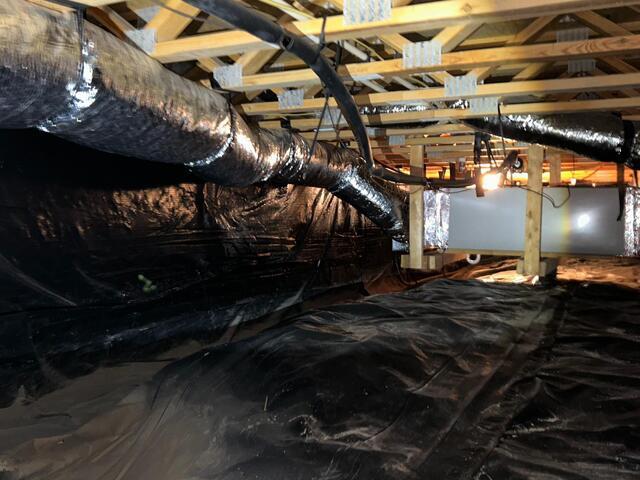
Crawl Space before encapsulation
This picture depicts the condition of the space prior to encapsulating.

Before picture of floor
Before the CleanSpace technology was installed.
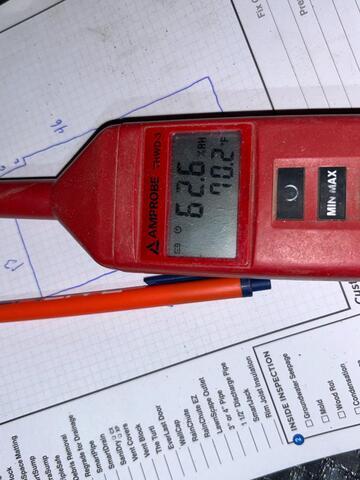
Hydrometer reading
This picture captures the humidity/temperature of the crawl space.

Standing water
This image depicts the standing water accumulating just under the PVC pipes.

Standing water
This image displays the standing water in the corner just under the PVC pipes and the complete disorder going on in the crawl space.

The beginning of CleanSpace going in
The start of the CleanSpace technology being installed.

CleanSpace going in
CleanSpace installation process.

SmartPump
A clean placement of the SmartPump.

Drainage matting
Drainage matting goes underneath each CleanSpace liner on the floor.

CleanSpace technology
CleanSpace technology is used on the floors and up the walls.
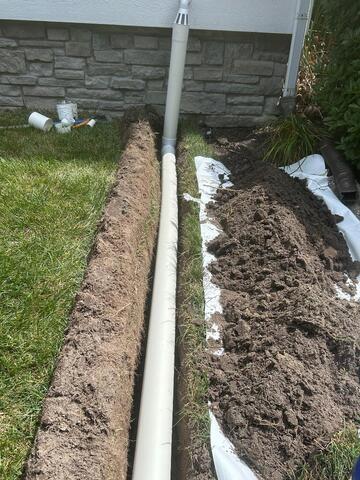
Drainage pipe/IceGuard
The DryZone crew neatly digs a line to install a 4" discharge pip. The IceGuard can also be seen in this picture (the part that has several openings cut into it).

Drainage pipe covered
Once the drainage pipe is securely in place, the DryZone team covers the area back and installs a LawnScape outlet.